torsdag 7. april 2016

Home Cinema

I recently got myself a home cinema, with parts carefully picked by me after trying various speaker setups home for rental to find what suited my needs. I wanted the sound system to excel both in playing music as well as for TV/Movies and certainly also gaming. And I wanted it to play well both at low as high volumes. I will list the different parts here, as well as describing a bit why I chose them.

Original Idea


Originally this is more or less what I imagined the setup to look like.

Speaker Testing


I listened to many different set of speakers at various Hi-Fi stores before bringing two pairs I liked well home for testing. I ended up trying Dali Rubicon 8in my livng room for a weekend alongside B&W CM10, listening to all sorts of music on both. By having A/B speaker output on the amplifier I could easily switch between the two speaker sets by pressing two buttons, without having to change cables and without the delay - this helped a lot in the process of comparing the two speaker sets. After the full weekend of listening to music I could not declare a clear winner, they both had their pros and cons for my taste. I felt B&W CM10 had the edge on the tweeter end, while I liked the punch in the sound more on the Dali's. With a small margin my choice so ended on the Dali, which I liked the sound of very much.

Front Speakers: Dali Rubicon 8


The Rubicon 8's are large enough to fill a room twice my living room with sound with ease, so I don't need to run them to their limits, but I like having the extra horsepower rather than maybe wanting more - and I also have in mind that I might at a later time move to a house with a dedicated room for the home cinema - and then the extra power will come in handy. The hybrid tweeters ensures there is a good sound all over the room - even for those higher notes, and they have plenty power all the way down to the good bass.

Center Speaker: Dali Rubicon Vokal


I had to wait for the center speaker for more than a month, as Dali had not yet finished producing it, but it was well worth the wait. In my opinion its a very good fit for the Front's both visually and when it comes to sound - and they fit very well under the TV-set.

Rear Speakers: Dali Rubicon 5


For the rear speakers I was choosing between Dali Rubicon 5, Dali Rubicon LCR or Dali Rubicon 2. Dali Rubicon 2 is to be placed on a stand, shelf - or simply wall mounted. Dali Rubicon LCR is slim speaker designed to be placed straight on the wall. Both those speakers sound good, but they don't really excite me when it comes to placement as they both needs a wall or a tall stand to be used in many situations. I ended up with the Dali Rubicon 5 for their natural stand, which also contributes to the sound for the larger volume.

Subwoofers: JL Audio Fathom F112


I listened to many sub-woofers also before making my pick, and among the ones I liked early on was Dali's own Sub K-14 F, which with it's 14" element and 500W gives a good punch, and in a duo its almost reckless. I however looked at other brands for comparing, and I got interested in JL Audio's Fathom E112. Eventually it happened so that when I was about to make my pick, I got a very good offer on E112's big brother F112, and after hearing what a F113 could deliver in the test-room I was tempted enough to bring two F112's home for testing. Story short: They never went back to the store from testing, and are doing a good duty next to each of the front speakers. Even if Dali's K-14 F is a good sub-woofer with its 500W it couldnt really match the punch, depth and tightness the 1500W beast from JL Audio could deliver.

Reciever: Denon AVR-X4200W


I chose the Denon AVR-X4200W for its features and power. You can get much more power out there for your speakers - but usually then at a much higher price, and usually also with less features than the Denon. For my speakers and my room this receiver does all I need it to and more. It can handle 7.2 on its own, which also means I can add two side-speakers at a later time if I want to expand - and it even has outout for 9.2 with added power if I'd like to go for 3D-Atmos. This reciever has spotify, tons of HDMI input and outputs, calibration mic included (handy when calibrating speakers in general, and to blend those sub-woofers to your fronts)

Stands for the rear speakers


I wanted the rear speakers to be on height with the front speakers, and since Rubicon 5 has a smaller cabinet than the Rubicon 8 I needed stands for those. This was both to ensure the speaker elements are reaching above the back of the couch, as well as making the tweeters of the speakers play from the same height. Since I could not find any stands fit for the job I had to make my own. I drew some sketches in Sketchup, and got the materials. Then my cousin helped me with the building and they were done in a few.

Sound Setup

I use only the front speakers and sub-woofers combined when listening to music - and the sub-woofers are always used for this. I have carefully calibrated and adjusted them to blend well with the Rubicon's and as thus all they do is adding those last few hz in the bottom that you also want to be able to feel. When watching regular TV, TV-series or movies, I use 5.2 surround. The surround is also on for gaming whenever a game supports it.

TV: Samsung JU7005 75" UHD


I wanted a large TV that could display 4K resolution, and while I first had my toughts on something like an 85" OLED with full SUHD - realism took over and brought the idea down to wait a few years for such a TV to excist - and to be in a reasonable price as well. So my idea was then to wait for black friday and buy a Full HD TV at 75" which I could use while waiting to buy a 4K set for a few years. However... black friday came, and the 75" TV I had in mind did not recieve a discount.. instead its 4K brother had its price cut in half for the day - and I had no problem making up my mind on what to do.. And from using the 4K TV for a few months now I can tell.. if you are 2,5-3 meters away from your TV-set - and the set is 75" - then you will love watching content in 4K rather than HD. The Samsung-TV upscales HD with ease - and it looks all good, but HD just can't compare with 4K when the image becomes this big and close. The note to take on this set is that its full 4K, UHD - but it's not SUHD - meaning it does not take the 10bit signal and added brightness which new SUHD-content will be able to deliver - it will however be able to read all this content and display it in full 4K resolution without the blending bright colors.

Final Setup


I'm very happy with the final setup, and I've enjoyed lots of TV, movie, series and gaming on it already. Next up is getting a 4K Blu-ray player to hook up with it.


Finally I would like to send some extra thanks to Hi-Fi klubben Hamar for helping me out as well as letting me borrow speakers for testing during my quest for my home cinema. And I would also like to give a special thanks to Robert who helped me upgrade the living room by changing wall-panels and strengthening the wall for the TV-mount, as well as building the speaker stands. And thanks to Kjetil who also helped upgrading my living room, and ensured in-wall both electricity, network and speaker cable routing. :-)

fredag 18. oktober 2013

Building Camax1d3

So, as soon as all the parts I ordered arrived I started building the rig. The whole process took 5 hours including eating, chatting and other necessities.


So, here are all the components gathered before starting the unboxing and building. On the floor you see the monitors, and the case and all other components are on the table.


Then a close up of the components.


The motherboard in place in the case, looks nice with the gold on black theme.


The CPU cooler from Cooler Master is fairly big, and with the FAN on the right side of the heat sink there is not much space left over the RAM slots. One can clearly see that I had to squeeze one of the RAM sticks down a bit from the side to fit it, it took a bit effort to get it there, but it got in and runs fine like this.


Motherboard, CPU, Fan and RAM installed


Rig up and running, except for the case-fans everything was running fine from the first boot. I just had to plug in the case's fan controller unit to the Power supply with the molex cable to get all the case fans running.


And here is the rig with the speakers and the monitors in all its glory.. well except not running though. Time to sleep and make the installs tomorrow.


Windows 8 installed, as well as most of the basic programs and drivers I need for running things. 


Next up is trying some gaming, Here is Dirt 3 running with Nvidia Surround 2D on all three monitors. This is doing a 60+ FPS over a 6100x1080 ressolution


And finally!  trying out the Battlefield 4 beta. I can run this over all three monitors and get 50+ FPS, but I chose to run it on one monitor getting 80-100 FPS and use the right side monitor to display the game map at all times. This subtracts the extra view field I would get with all 3 monitors, but I feel the benefit of doubling the FPS outweighs the benefit of the extra viewing field. If I would have say 100 FPS stable on all 3 monitors I would try that, as it is sweet, and then I'd put the battle map on the iPad screen. My current setup is to use center monitor for the game, right hand monitor for map, iPad screen for loadouts, left side monitor for voice communication and to keep track of other windows while gaming, and the iPhone is used to switch server. I like well how the Battlelog integrates everything neatly between the different devices.


fredag 20. september 2013

New Gaming Computer

I have for a long time been doing research on parts for a new gaming computer, and finally the orders has been made. Hopefully all parts will arrive by the end of next week, and I will post my progress with the build.

Here is the part list:

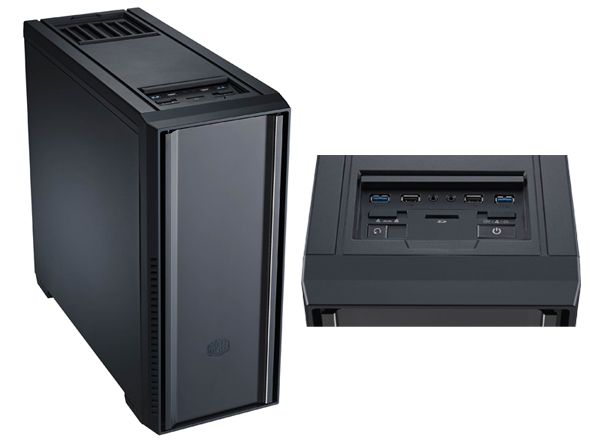
Case: Cooler Master Silencio 650 Pure
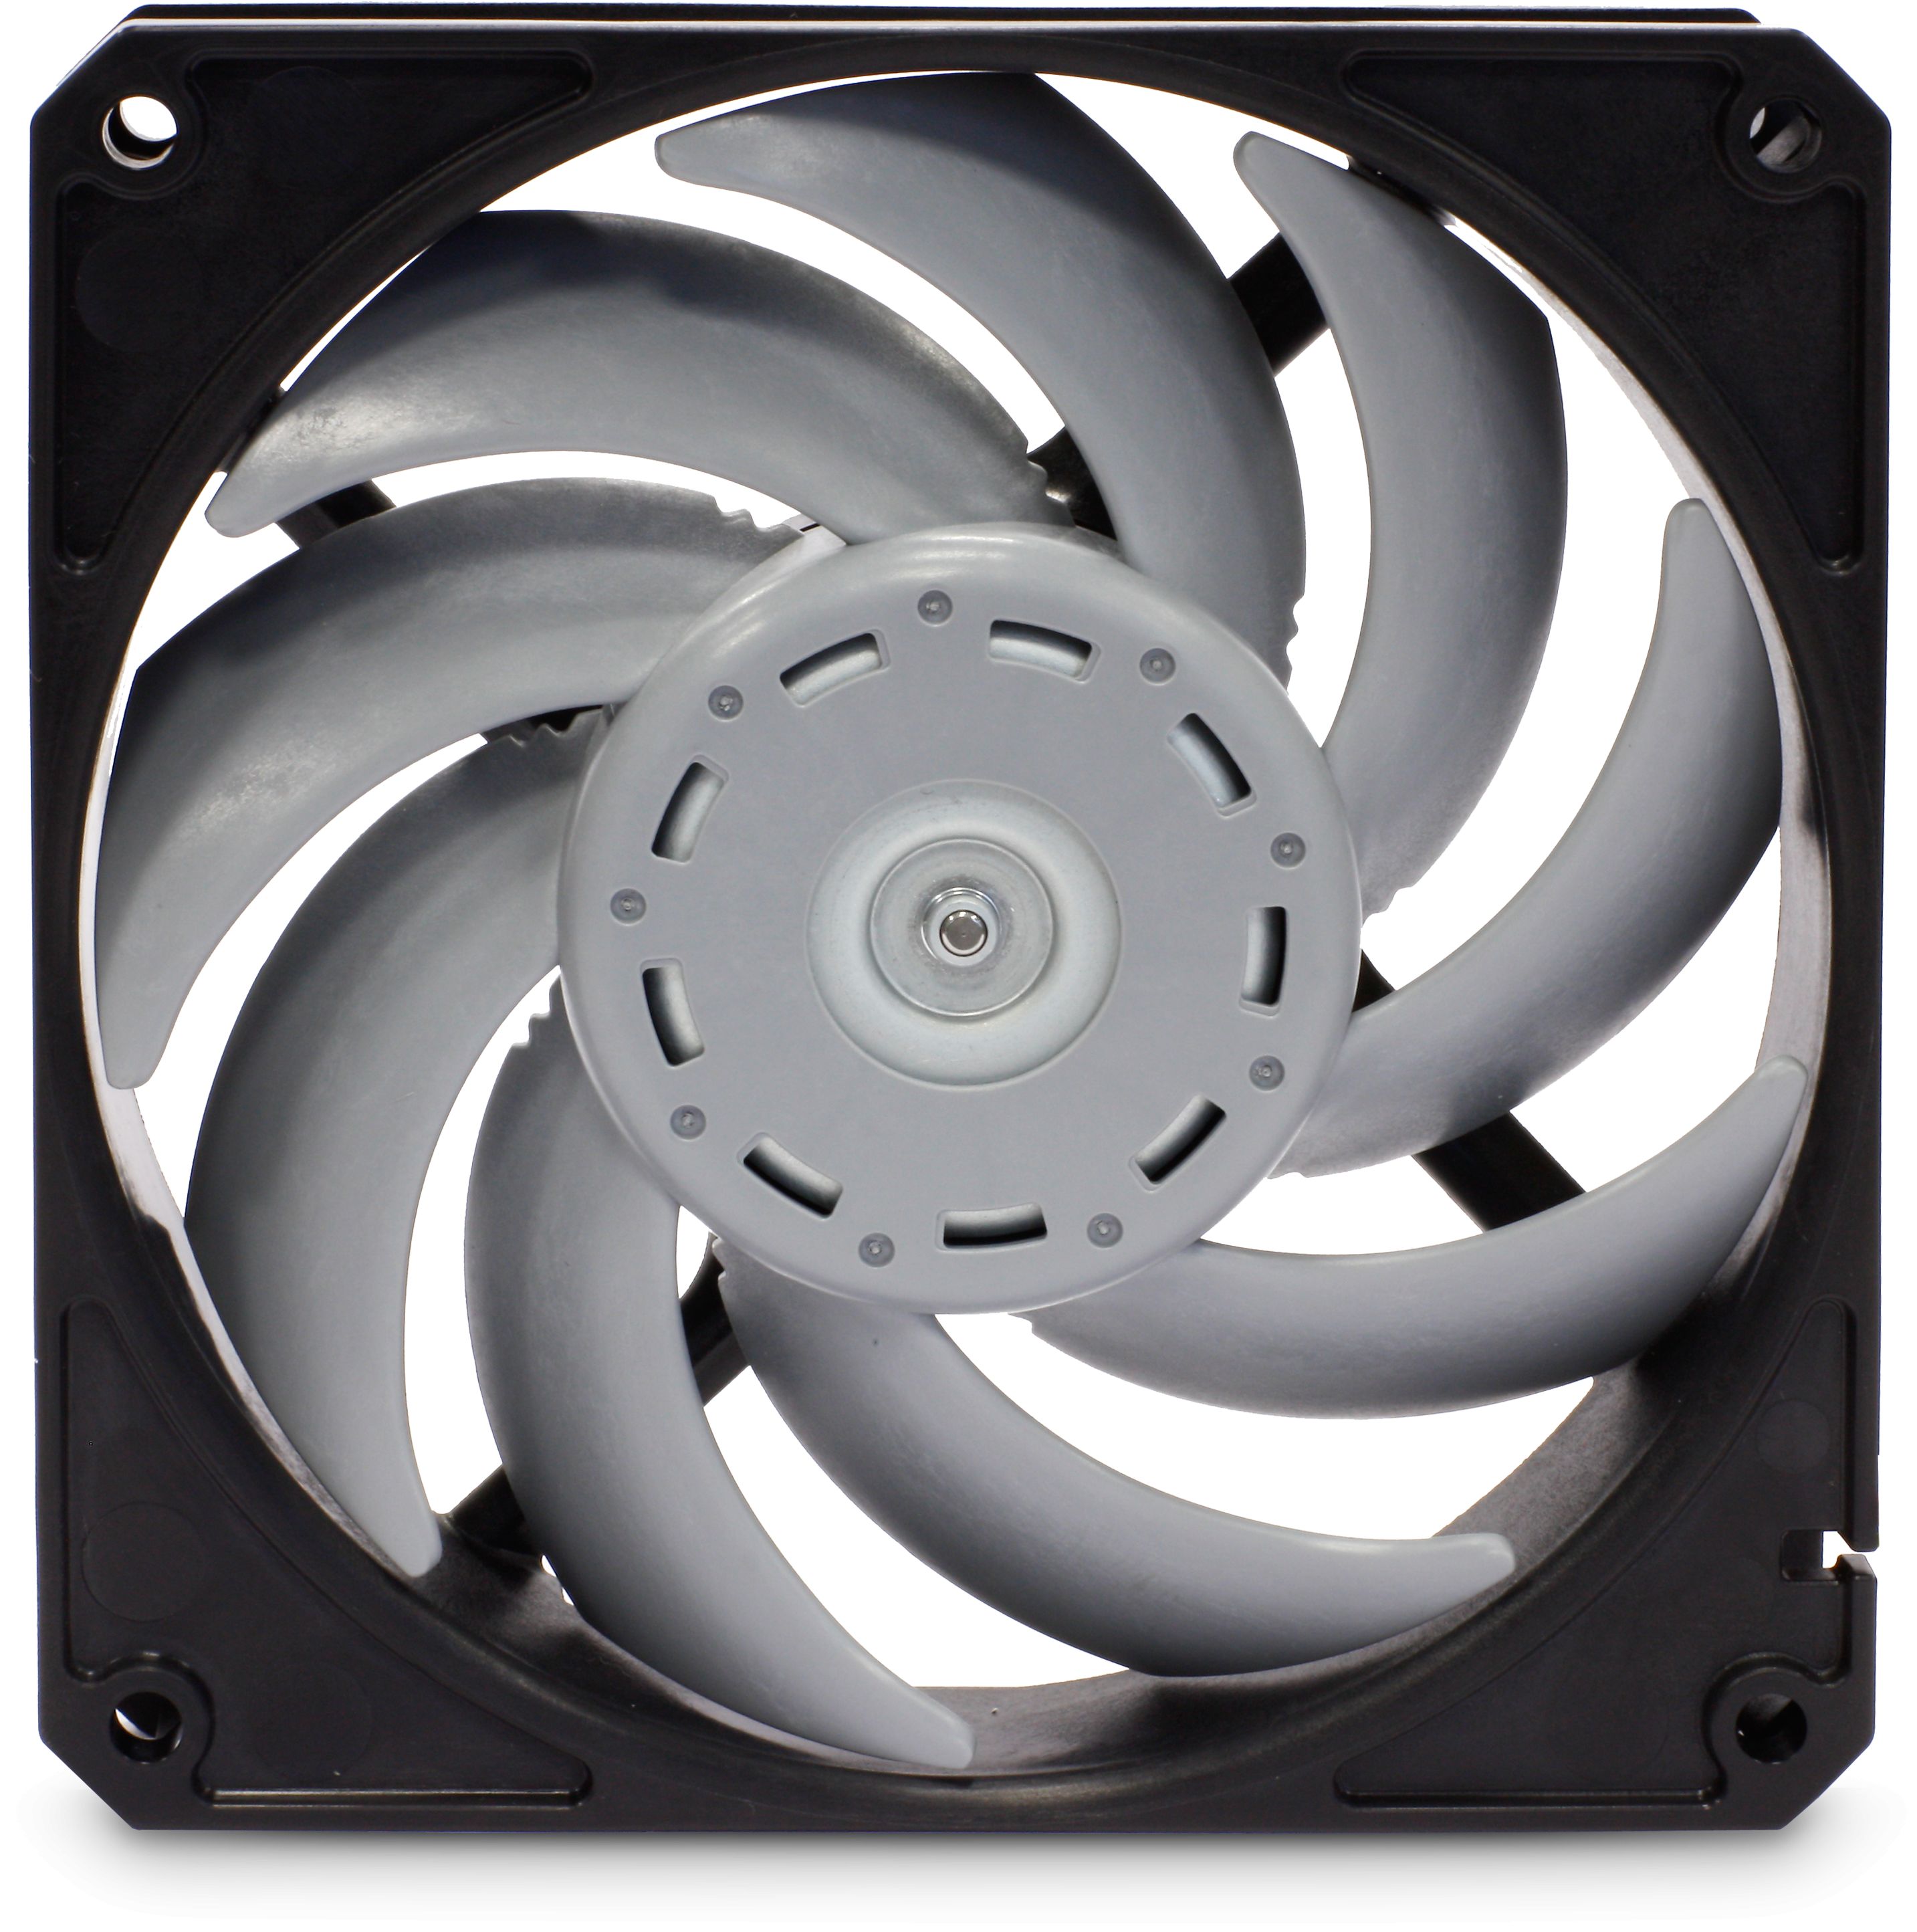
Case Fans: 2x Scythe Gentle Typhoon 120mm Fan 1850RPM
Power Supply: Corsair HX1050 Modular Gold 1050W
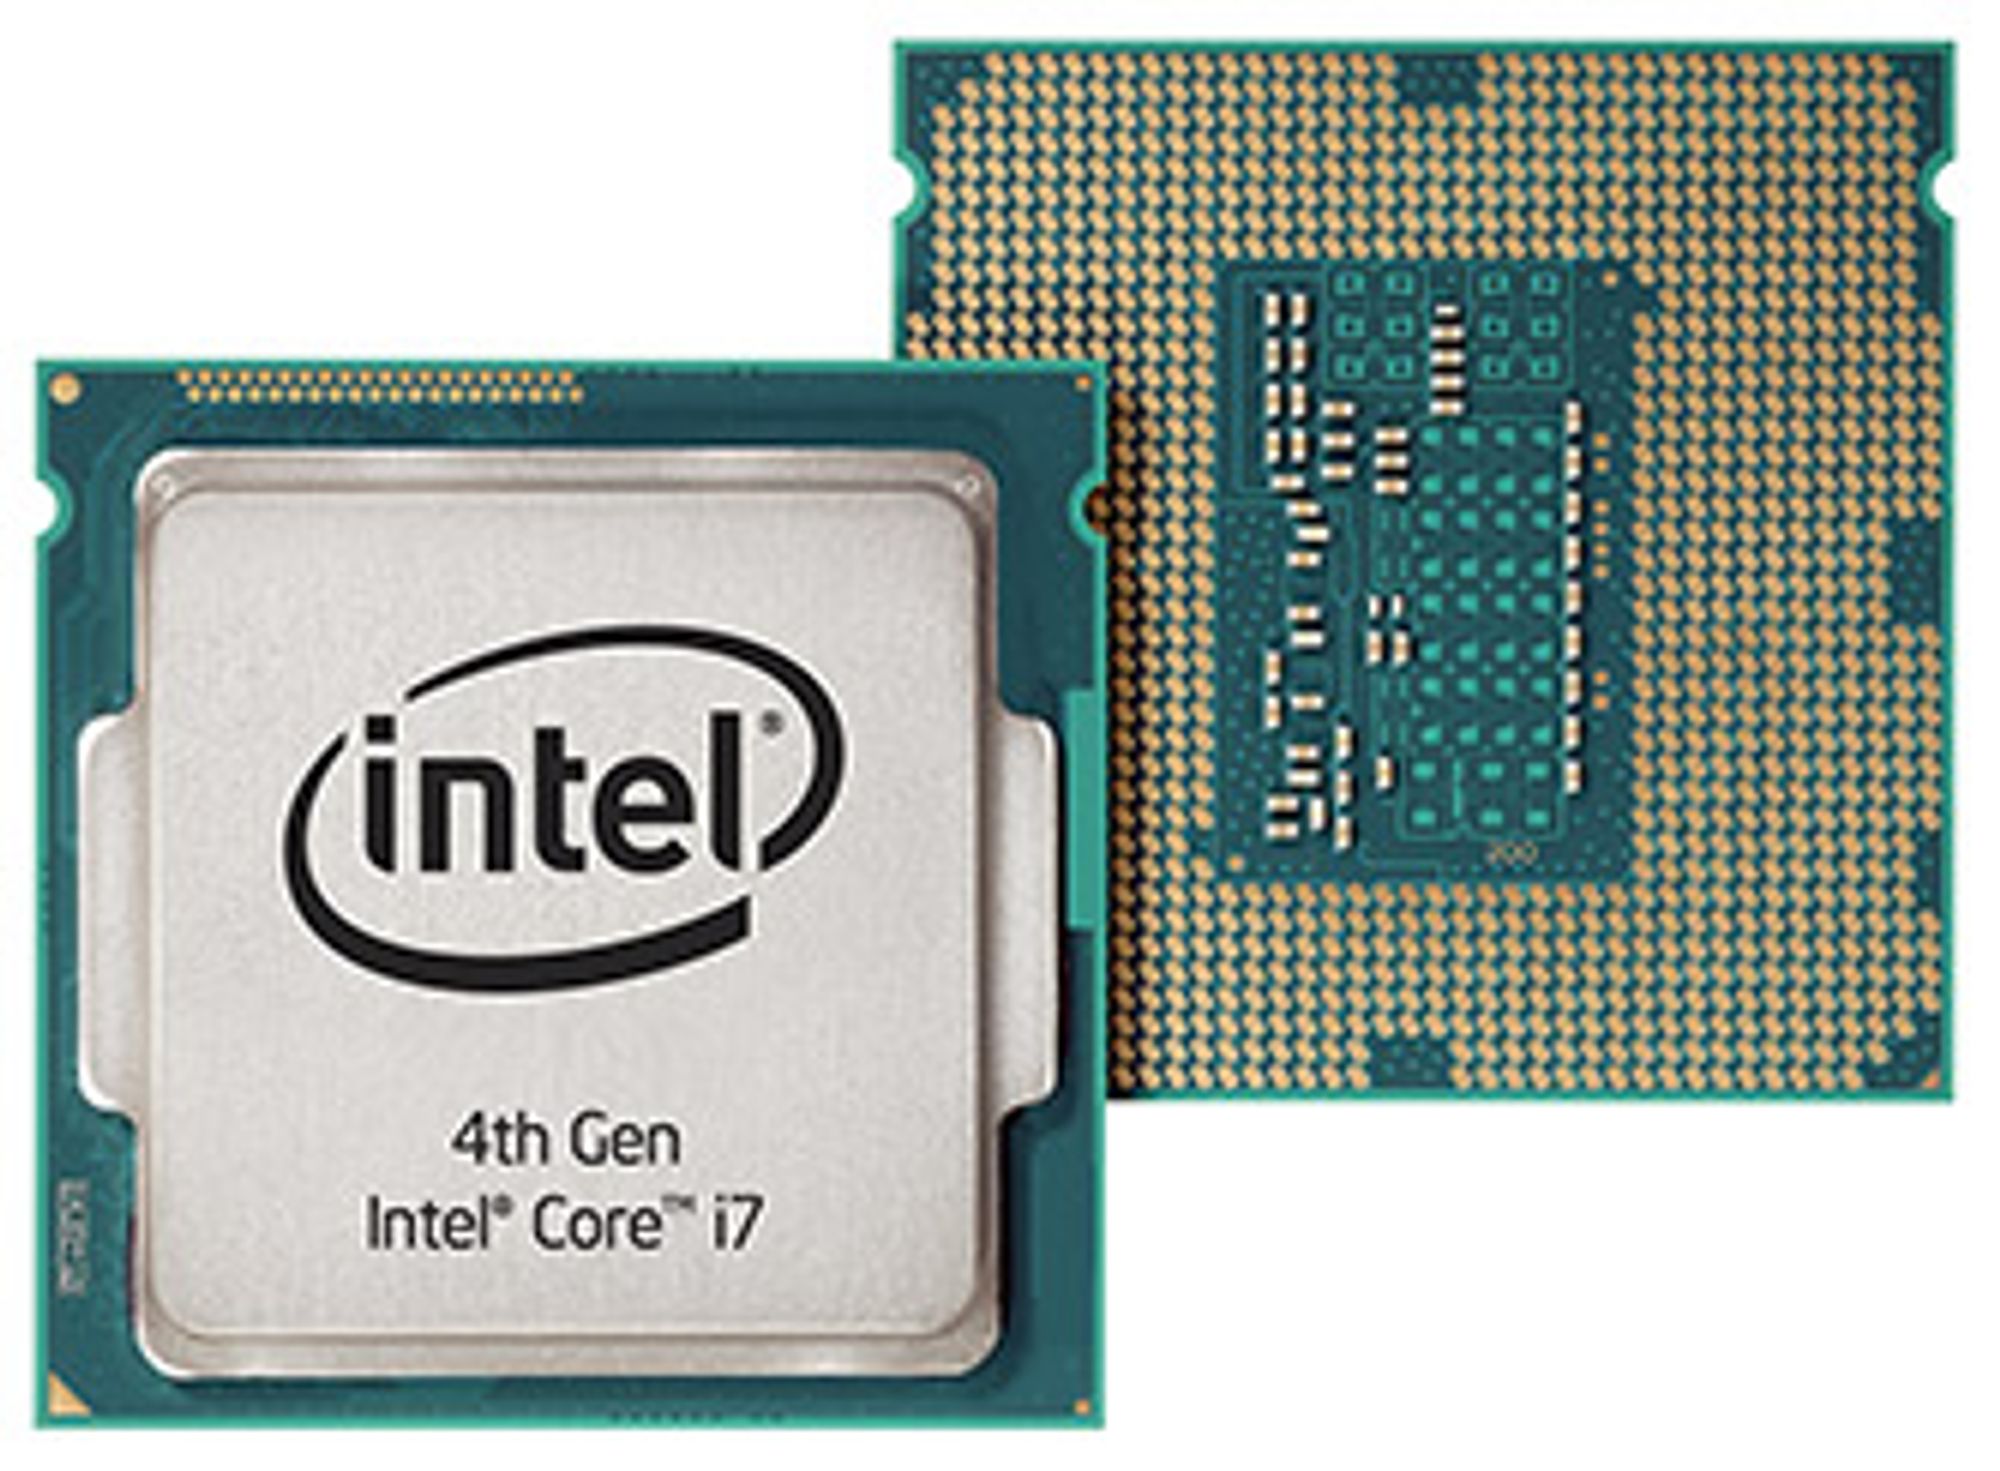
Processor: Intel Core i7 4770K 3.4GHz 8MB S-1150
Processor Fan: Cooler Master Hyper 212 EVO
Mother Board: Asus Z87-Pro (C2)
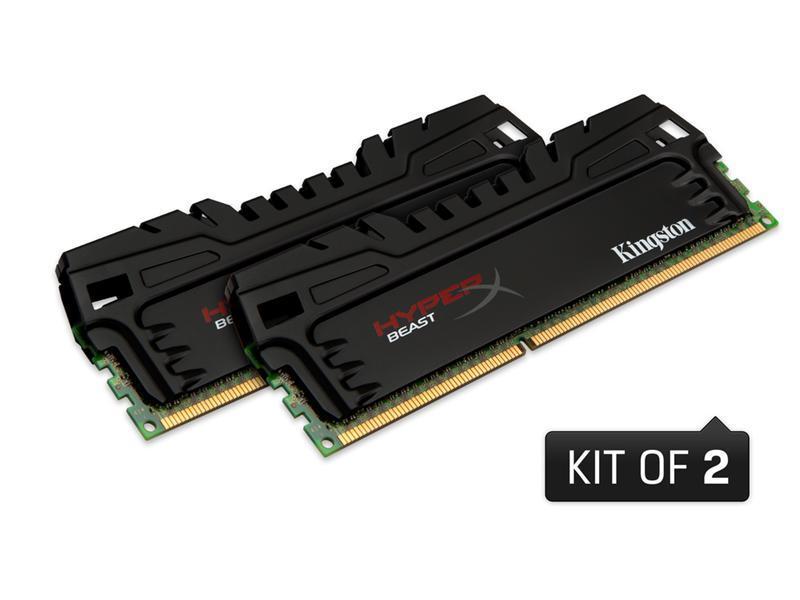
Memory: 4x Kingston 8GB 1600MHz CL9 XMP HyperX Beast
Hard Drives: 2x Hitachi Deskstar 7K4000 4TB 7200RPM
SSD: Samsung 840 EVO 1TB
Graphics Card: Evga Geforce GTX 780 SuperClocked 3GB with ACX
Monitors: 3x BenQ 24" LED XL2420T (Version 2)
Sound Card: Creative Sound Blaster ZxR
Optical Drive: Liteon Bluray BD-R 12x Inernal Black
Mouse: Roccat Kone XTD

Here is also a brief description of each individual part, and why I chose them.

Cooler Master Silencio 650 Pure


I want to build a gaming PC that can also be used for multimedia in the living room, as for this I prefer a case that is silent. This case has sound insulation as well as fan speed controllers to switch between silent mode and performance mode. The case also got plenty of space inside, good routing for cables and a good airflow. The case is also fairly slick, it does not look cheap and boring, still not like a gaming monster, which suits my taste well. This is the Pure version, which comes without the normal versions HDD fast swap and HDD boot switch, none of which I needed.

2x Scythe Gentle Typhoon 120mm Fan 1850RPM


The case comes with 3 fans each running at 17db, but can hold two more fans, which I wish to use the typhoons for. The Gentle Typhoon 1850RPM is a fan which push enough air, but makes little noise. The fans will be controlled by the case fan switch, or by motherboards fan controller - whichever I find most pleasing. This Fan also comes in other RPM versions depending on how you wish to prioritize silence VS amount of air pushed.

Corsair HX1050 Modular Gold 1050W

The Corsair HX1050 is a modular PSU meaning that each cable can be mounted/dismounted. This allows me to only connect the cables I will actually use, and I don't need to leave a big bunch of unused cables hanging around inside the case. The Gold is related to the power supply efficiency rating, and it means it will waste less energy for you. The 1050 Watts will be more than enough for my current rig as well as giving me a head space for adding more Hard drives, an additional GTX 780 or such at a later time if I wish to. For a regular gaming computer build one would usually do well also with a less powerful power supply.

Intel Core i7 4770K 3.4GHz 8MB S-1150


The i7 4770K is currently a very powerful component for a gaming computer and will also do well when doing other heavy tasks like media creation. For a pure gaming computer one could easily go with a decent i5 processor these days, but with the i7 4770K I should be well equipped for a few years to come both for gaming and other productivity work. For most other people on a budget I would however always say that one should go down on the processor rather than on the graphics card, as the processor is usually not the bottle neck for your FPS.

Cooler Master Hyper 212 EVO


This CPU cooler is quite big and will not fit in smaller cases. But the size gives you much cooling surface resulting in quiet operation while maintaining a low temperature on the processor. The 212 EVO is also able to be controlled through the case fan switch or the mother board fan controller. This cooler will be a good upgrade to any stock fan, and is also very cheap compared to other equally efficient solutions.

Asus Z87-Pro (C2)


The Asus Z87-Pro is a high class gaming motherboard and opens up for overclocking as well as many useful features. One worth to mention is the built in Wi-Fi module which let me use the computer on the wireless network if I wish to. This is a S-1150 mother board and fits with the i7 4770K processor.

Kingston 8GB 1600MHz DDR3 CL9 XMP HyperX Beast
Since socket S-1150 supports dual channel memory, and the motherboard is equipped with a total of 4 RAM slots, I chose to buy kits of 2 8GB memory. Since I buy two such kits I end up with 4 memory sticks totaling 32GB of memory. Two and two sticks will work together and speed up the memory bandwidth to the system, much like a hard drives would do when set in a raid. The specific memory modules was picked based on speed and price. I wanted memory running at 1600MHz and I wanted a cas latency rating of no higher than 9. The CL rating together with the Hz defines the speed of the memory module. The XMP means the chip is good for overclocking if you should like this, and with the Asus motherboard some gentle overclocking is done system side with only a few key presses without setting your system at risk.

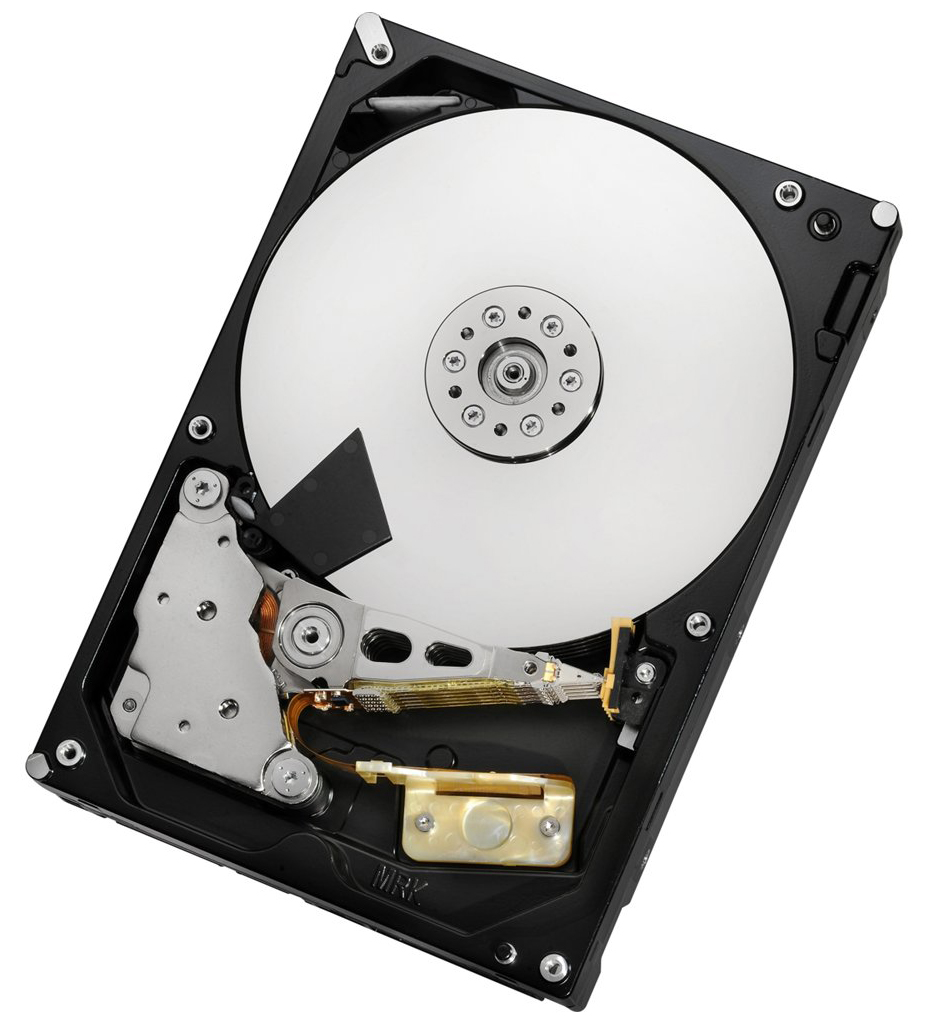
Hitachi Deskstar 7K4000 4TB 7200RPM


The current largest single hard drive you can get is the 4TB drives. Among the 7200RPM drives the Hitachi is among the very fastest and still not too expensive drives. You can get much faster drives doing even 10000 and 15000RPM, but at a much higher cost. I plan to run my OS and my high priority games on a SSD drive, and plan to use the Hitachi for storage. I go with two of those drives for now giving me a total HDD space of 8TB, I plan to later add 2+ more drives like this when I start to run out of space, as my case can fit them.

Samsung 840 EVO 1TB


SSD's are Solid State Drives, meaning they don't have the mechanical moving parts and spinning platters that normal HDD's have. This means cooler, more quiet and much faster operation speeds. SSD's does also not get slow over time as they dont get fragmented since the disk don't spend time going from one area of the drive to another. The SSD will improve loading times on the gaming system and also time spent on installing software. A small partition of this drive may also be used to boost the performance of the HDD drive.

Evga Geforce GTX 780 SuperClocked 3GB with ACX Fan


This is currently one of the fastest single GPU graphics cards you can get. It even beats the Geforce Titan which cost a good amount more. Evga has taken Nvidia's reference card and added their own ACX cooler. This cooler use less energy, makes less noise while still cooling more efficient. This results in the card also getting clocked up and performing about 10% better FPS than the reference card based on which game you play. Evga also made two higher versions of the card 'FTW' and 'Classified' which boosts the card even a bit more, but these cards will only boost FPS 1-2 frames, while boosting the cost more, so its not that much to get there. The reason I pick a single GPU card over a 690, 680 SLI or a double GPU AMD card, is that I want to avoid micro stutter, which often comes with dual setup. If I at a later point would need to boost my FPS by going dual card I would just get one more of those.

BenQ 24" LED XL2420T (Version 2)


I chose to get 3 of these displays. Why 3?! First of to have at least two displays highly improved productivity while working, so getting a third will help even more. And as this is a gaming computer the three screen setup opens for a whole new way of playing. Nvidia Surround let you play fullscreen over all 3 monitors, while maintaining the focus on the center screen. The center screen can still display the very same image that it would if you only play on one screen, but your view will be extended over the two side screens meaning that your field of view is much wider. Instead of seeing a typical 90° you might end up seeing close top 180°. The image will stretch out towards the edges of each side view, but as your focus is still on the main screen this is not a problem, and it gives you a benefit of seeing things in your side view that you would otherwise never notice while playing. For instance while playing a car game you can look out through the side windows by turning your head, or what about drifting through a turn, looking out through the side window to see where the road goes. And in First Person Shooters you may hold a door, while still being able to notice if someone pass through a window on either side of you. It opens up for a whole new experience where you feel more into the game. The reason for the BenQ is that it is a very fast monitor. IPS panels produce better colors, but cant compete with the response times of a TN panel, so for a gaming monitor TN is the way to go. the version 2 of this monitor (Europe) equals the XL2420TE in the US, and is similar to version 1, but goes from 120hz to 144hz and adds zeroflicker tech to the monitor. Among its many features this monitor also house a black eQualizer letting the monitor boost dark areas to better see in dark scenes. The monitor supports Nvidia 3D Surround but does not come with a built in transmitter like the TX version does. This is why I have coupled the screens with 1 version of Nvidia Geforce 3D Vision version 2.0 wireless kit.

Creative Sound Blaster ZxR


Today all motherboards comes with a built in sound card module. Some are OK, some are quite bad. For most people however the on board audio is doing the job, and they don't need a dedicated sound card. If you however wish to play through an expensive sound system, and enjoy glorious 5.1 surround or audiophile music playback, then you should consider a sound card. I plan to get a nice home cinema sound system early next year, and thus wish to be able to use my new gaming computer as a full fledged multimedia center in my living room. For this I chose the Creative Sound Blaster ZxR. For most use this comes in cheaper versions the Z and the Zx, which holds lower quality components and less ports. The ZxR is the cream of the crop for these cards and should be able to fulfill any audio needs I may get the next years as long as I don't plan to go past 5.1 surround. When it comes to gaming, this card coupled with a high end surround headset should put you right at top of where you could get when it comes to reading in game sounds as the clarity should way surpass any on board audio you ever experienced.

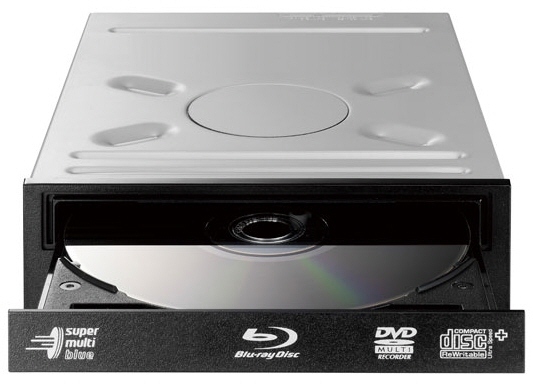
Liteon Bluray BD-R 12x Inernal Black


Simply put, this was the cheapest optical Bluray burner I could find in my local netshop. It runs at 12x, the same speed as the more expensive burners they had, so I could not see any reason to not go for the cheapest. Optical drives will only be used for watching Bluray movies or when installing software and I don't feel its a part I would spend more money on than needed. Some even leave out the optical drive in their systems nowadays, but I still feel its handy in case of need.

Roccat Kone XTD

The Roccat is an advanced gaming mouse housing a 8200DPI laser sensor, customizable leds and something called easy shift. The easy shift let you hold a desired button which temporarily remaps all other key buttons while the easy shift is held down. This enables each button on the mouse to have two actions mapped to them (much like when holding shift on the keyboard). Furthermore this easy-shift tech will work across both the mouse and the keyboard if you have a newer Roccat keyboard. I plan to get the Roccat Ryos MK Pro with MX Brown switches when it is released in October, and then I will be able to trigger the easy-shift from either the mouse or the keyboard. The mouse is also very slick, with good placement of the buttons for my hand - and it feels good to click on. I coupled this mouse with the Roccat Raivo mouse mat in lightning blue color, as it holds a large area to play on, and it fits the mouse well.

onsdag 28. april 2010

Opening of Camaxide's Corner

Due to popular demand I've decided to make a small blog. Its not suposed to be a blog with updates every day nor week, and I wont make it full of me and my life. Rather I'd like to show some of my digital artist life, covering gaming, pictures, movies and other stuff that I like. It's yet to be seen what will show up here, but as I plan to angle lots of this to my gaming career, I'd like to start out by posting my BF2 retiring-tanker movie from mid 2007. If you are not a gamer it might not be all that, if you are an adept gamer you might like it, if you're an BF2 gamer you might love it.

Enjoy =)